
Let's begin:
So to start you need to download the OblyTile application from here: http://tinyurl.com/oblytiledownload dont worry, it is really smile (only 3.3mb).
The you'll open the OblyTile program which you just downloaded:

click on setting and then enable "Show Tile Preview automaticaly" so you can see how the tile you are creating looks. It may be needed to close the program and re-open it so the changes make effect.

Then you give a name to the tile you are creating. You can decide showing the tile name on the tile you are creating or not. I prefer not to do it but it's just personal taste.

Then click on "..." and choose file or folder according to what thing you want to create a tile. I will use the Assassins Creed 3 Game executable as example.

After that click on "..." of Tile Image Line and choose the tile you downloaded from this blog. If the image you downloaded is transparent you will be able to choose from a variety of background colors. If you choose not to hide tile name you will also have the option to choose the text of the tile color.

Finally you have some other options to add to your tile when you click it. They are not important for the final result, i'll choose to not enable any of them. To finish just click "create tile" and you're done, as simple as that!
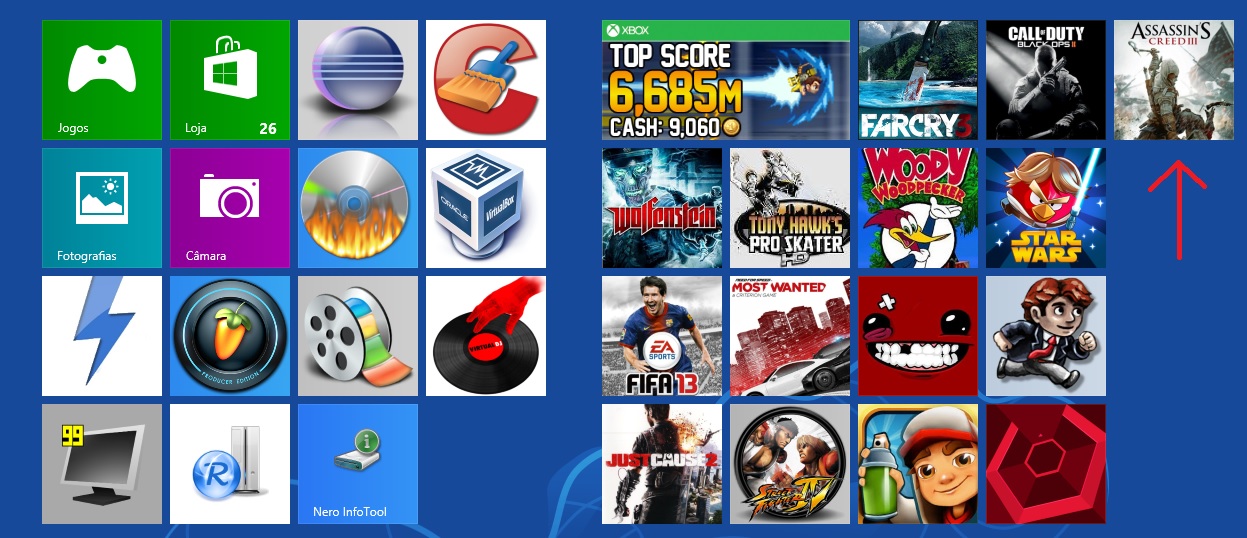
This is the final result, have fun customizing your windows 8 with our blog!
Sem comentários:
Enviar um comentário